How to access iPhone with iOS 11 in Linux
A couple of years ago, I wrote a detailed tutorial on iPhone mount & use compatibility in Linux across multiple distributions. KDE/Plasma struggled with this the most, not seeing and/or not mounting the device automatically. But we did have a relatively neat solution in the form of idevice and ifuse utilities, with some command line hacking.
With the release of iOS 11 (and possibly one version earlier) things seem to have changed somewhat. And I have only run and tested iPhone 6 with iOS 8/9. To wit, here's another tutorial to help you work around this. At the moment, I have an iPhone 6s model for testing, and I cannot guarantee this method will work well with newer models, but overall, the procedure should be identical for the rest of the Apple smartphone range. Anyway, after me.

Tools of the trade
This guide aims specifically at Plasma use, however, we will cover all angles. It is applicable across the distro range. The only difference is in the subset of libraries and tools you will need to install. This guide has been compiled working with Kubuntu 17.10, so it works for any Ubuntu-based (and maybe even Debian) system. If you're wondering how to achieve this in other distros, like Fedora, please take a look at my guide detailing exactly this - iPhone connectivity in Fedora KDE. The principles are identical.Let's begin with the necessary extras - the set of libraries is very similar to what we did in the past, except some tools have new, incremented versions. Nothing too dramatic:
sudo apt-get install ideviceinstaller python-imobiledevice libimobiledevice-utils libimobiledevice6 libplist3
python-plist ifuse usbmuxd
Connect iPhone
The next step is to connect your device and make sure it's recognized. You can check this with dmesg, and look for an output similar to this:
[ ] usb 2-3: new high-speed USB device number 4 using ehci-pci
[ ] usb 2-3: New USB device found, idVendor=05ac, idProduct=12a8
[ ] usb 2-3: New USB device strings: Mfr=1, Product=2 ...
[ ] usb 2-3: Product: iPhone
[ ] usb 2-3: Manufacturer: Apple Inc.
[ ] usb 2-3: SerialNumber: 42aed16e758bde7cb268 ...
[ ] ipheth 2-3:4.2: Apple iPhone USB Ethernet device attached
[ ] usbcore: registered new interface driver ipheth
Open console
Now, let's try the pair command - which is most likely going to fail: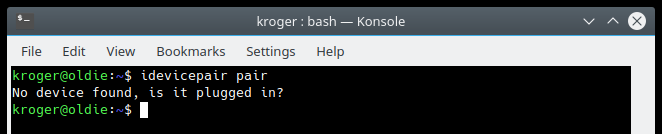
idevicepair pair
No device found, is it plugged in?
What you need to do next is run the usbmuxd command. This is a socket daemon to
multiplex connections from and to iOS devices. Normally, it should run as a background service, which we will
enable later, but for now, open a separate terminal, and as sudo or root, run:
No device found, is it plugged in?
usbmuxd -f -v
The console should fill in with text, which is good. Now, in a separate console window, let's go back to trying
to pair the device. As before, we will need to unlock the iPhone and trust the laptop:
idevicepair pair
SUCCESS: Paired with device 421c580dfa7ba121f591b1aed14a657bde7cb268
SUCCESS: Paired with device 421c580dfa7ba121f591b1aed14a657bde7cb268
Mount device
Now, create a mount point, something like media/iPhone. Make it accessible to everyone with chmod 777 or make your user the owner of the directory so you can access it without root permissions in the file manager. Then, mount with ifuse:
sudo mkdir /media/iPhone
sudo chown: /media/iPhone
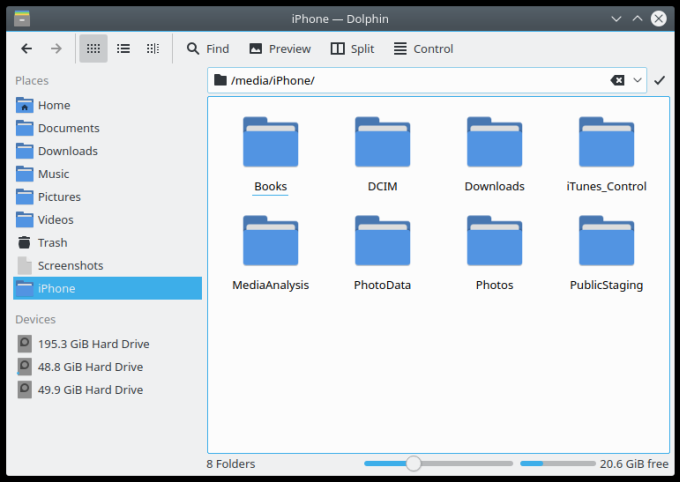
ifuse /media/iPhone/
Open the file manager (Dolphin) and navigate to the mount point.
sudo chown
ifuse /media/iPhone/
Cosmetics
For easier future access, you can now drag & drop the location shortcut into the sidebar, and even add a custom icon and/or name. Then, every time you mount an iPhone, you can easily go there, and if there's no device mounted, no harm done.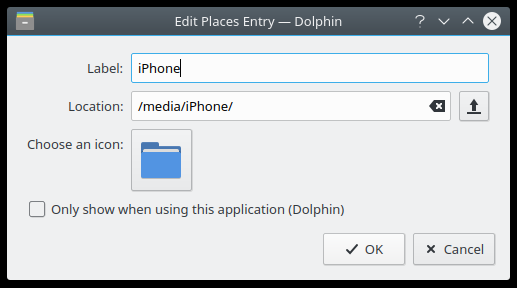
You can script the mount and umount procedures if you wish. Likewise, the same applies to the usbmuxd service, which you may want to be running with your system. You can enable it to run on startup - and if you get an ugly systemd error, then just "manually" start it when needed or every time the desktop logs through Plasma settings. Either one is fine.
systemctl enable usbmuxd
systemctl start usbmuxd
systemctl start usbmuxd
When you want to unmount, do the following two lines
fusermount -u /media/iPhone/
idevicepair unpair


Comentarios